What to expect on your California DMV driving test
By Instructor Josh Daniels13 min read
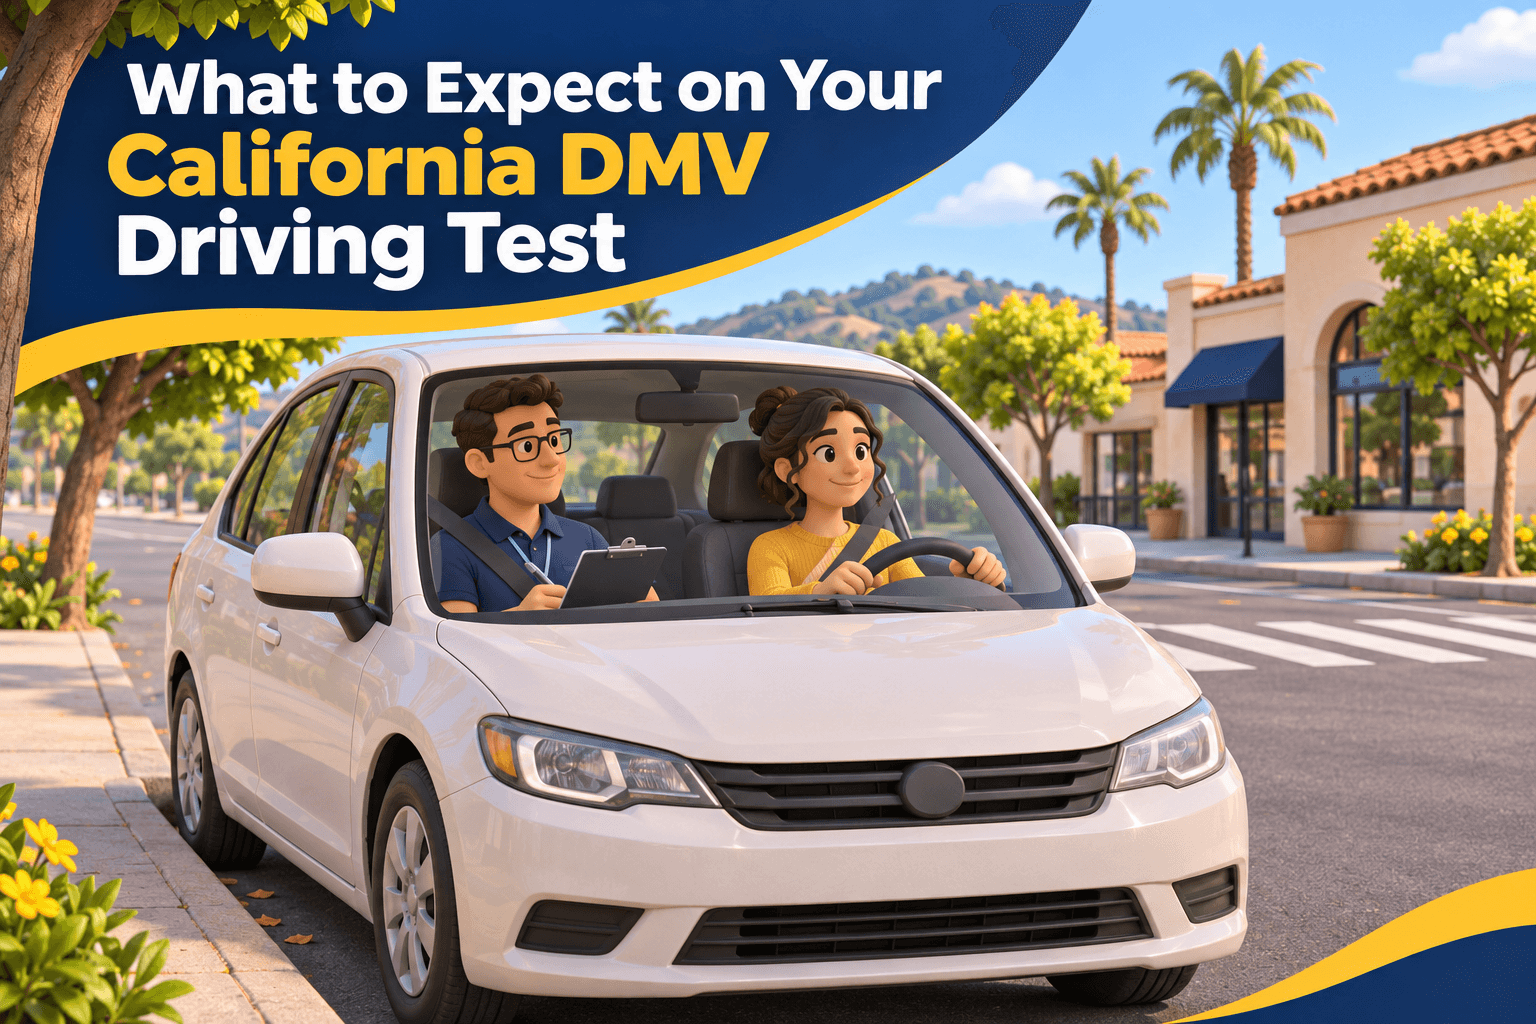
Out of all the questions I get asked as a driving instructor most seem to revolve in one way or another around the DMV drive test, so this post should answer about 99 out of 100 questions you may have about the DMV drive test in California.
This article provides general guidance. While California DMV testing standards are statewide, test routes and check-in procedures may vary slightly by DMV office.
The California DMV behind-the-wheel test is very short compared to many other states. The driving portion of the test normally only lasts around 10-15 minutes and is a mix of driving both on residential streets and on busier commercial streets with traffic lights. Freeway driving is generally not part of the standard test for new drivers, but the DMV may include it if required. There is no parallel parking, three-point turns, or parking on a hill on the CA DMV test for new drivers.
Before your test
Schedule the drive test at the DMV of your choice and arrive for the test 15-20 minutes early to complete paperwork. If under 18 you will need a parent/guardian or a CA licensed driver over 25 to accompany you on the day of your test. If you are over 18 any CA licensed driver over 18 can accompany you. Also try to drive at least for a few minutes before you arrive for your test to get in the groove and practice your driving skills.
What to bring
You will need your learner’s permit with you on the day of your test. If you haven’t already done so, sign your permit on the line at the bottom of the page next to the X. If under 18, your learners permit’s second page will also need to be signed both by the driving instructor from your first driving lesson and also by a parent or guardian attesting to your practice time behind the wheel with them. If under 18, you will need the yellow sheet you received from us at the completion of your 6 hours of behind-the-wheel training when showing up for your behind-the-wheel test at the DMV.
Go inside the DMV and check in at the drive test window. All you need to bring with you other than your complete permit paperwork is the registration and insurance card for the car you are using for the test. The parent or adult accompanying you will also need to present a valid CA drivers license.
Using a Bay Cities test car
You can either use your own vehicle for the test, or you can book a DMV test with Bay Cities Driving School and use one of our teaching cars for the exam. If using a Bay Cities car, we will pick you up, review skills with you, and let your practice in our car for 30-45 minutes or so before your test. Then we’ll accompany you to the DMV (no parent needed) and you use our car for the test and then we drive you home afterwards. DMV examiners are sometimes a bit more at ease in a teaching car as well as they have their own brake pedal if they need it.
Check your vehicle
If using your own car make sure all the lights and turn signals work, that the tires are in good condition, the driver side window rolls up/down, the horn works, the driver and passenger doors both open/close securely and properly, the glove box opens/closes securely and properly, the windshield is not severely cracked, damaged, or obstructed, the rear/side view mirrors are not cracked or missing, the driver and passenger seat belts work, the windshield wipers work, and that your parking/emergency brake works properly. The examiner will check all these things on your car before you get moving and if there are any issues with the car’s condition you could be turned away on the day of your test until you can bring the car into compliance.
The pre-drive safety check
The DMV examiner will first review your paperwork and then ask the parent/adult who is accompanying you to exit the vehicle and it will just be you and the examiner from this point on.
After the DMV examiner does a quick exterior check of the car’s condition, they will stand beside your driver side door and ask you to roll down your driver side window all the way and go through the pretest checklist with you. While standing outside your door they will ask you to demonstrate your hand signals for a L and R turn and for slow down/stop. They will also ask you to point to a few controls in the cockpit to show that you know where they are and how to use them. They will ask you to honk your horn, step on your brake pedal, activate both your R and L turn signals, point to the front defroster control, turn on/off the hazard/emergency lights, point to the parking/emergency brake, turn on/off your headlights, and turn on/off your windshield wipers.
Starting the drive
The examiner will then get into the passenger seat and go through the instructions for the drive test. The only real instructions they give are that they will tell you ahead of time when to make a left or right turn or when to make a lane change, and that if they don’t tell you to make a turn or a lane change then assume that they want you to go straight. That’s literally the only instruction they will give during the test and they will be looking to you to handle the rest on your own. Confirm the examiner has their seat belt on.
The DMV examiner will then ask you to put the transmission in gear and give you instructions on where you should exit the DMV parking lot and which direction (if any) they would like you to turn. Remember if there is a sidewalk you need to cross coming out of the DMV parking lot to stop fully and completely behind the sidewalk and treat it like a limit line at a stop sign: stop fully and smoothly and scan L-R-L for pedestrians and traffic before making your turn or slowly moving out to a second stop position for better visibility.
What the examiner looks for
When the examiner directs you into residential neighborhoods, they will ask you to make a few left and right turns at stop signs. They will be looking for your speed control, smoothness of your acceleration and braking, how controlled your turns are, how well you stay centered in your lane, if you are going the proper speed for conditions, properly assessing intersections, stopping fully behind limit lines, and above all, for you to do all of your needed scanning, signaling, mirror checks, and over-the-shoulder checks when driving.
On commercial streets they will ask you to make a few left and right turns at traffic signals, as well as to make at least a couple of lane changes. Remember to scan ahead and to scan L-R-L as you approach intersections and crosswalks, even if you have the right of way and don’t need to stop. S.M.O.G. (Signal, Mirror, Over Shoulder, Go) every time you make a lane change, cross a bike lane, pull to or away from a curb, or make a right turn at an intersection. Remember when making turns onto roads with multiple lanes to make right turns into the rightmost forward lane and to make left turns into the leftmost forward lane.
Parking at the curb and backing up
At some point the examiner will ask you to pull over and park alongside a long straight curb. Be sure to S.M.O.G. before pulling to the curb and park within 18 inches of the curb and put the transmission into Park. They will be asking you to straight-line reverse along this same curb without striking the curb at all, so about a foot away from the curb is a good safe distance to park. The examiner will then ask you reverse along this curb usually for about 2-3 car lengths using only your passenger side view mirror and looking out the back window (they will often cover a backup camera with their clipboard). Take it nice and slow about the speed of a slow walk (1-2 MPH). Once they ask you to stop reversing put the transmission into Park. They will then ask you to pull away from the curb. Put the transmission into Drive and be sure to S.M.O.G before pulling away from the curb.
Finishing the test
After the curb park and about 5 minutes each of both commercial and residential driving the examiner will direct you back to the DMV parking lot and ask you to park in a row of parking spaces reserved for the end of the test. Normally at this point the examiner will go over how you did, any issues you still need to work on, and tell you whether you passed or failed and then give you your driving test scoresheet.
If you passed, go back inside with your passing scoresheet to get your driver’s license! You will be issued a temporary (but fully valid) paper driver’s license that day, and the permanent plastic license with your picture will arrive in a few weeks by mail. Also, the picture on your learner’s permit will be the same picture that will be on your license, so no reason to worry about taking a picture on drive test day.
If you need another attempt
If you didn’t pass this time, schedule another behind-the-wheel test. You have up to three tries to pass the behind-the-wheel test with your current learner’s permit, but if you fail on your third attempt you will need to start the application process over and pass the written test again before being able to take another behind-the-wheel test. If over 18 you can reschedule your next behind the wheel test ASAP, but if you are under 18 and fail a behind-the-wheel test you will be required to wait at least 14 days before trying again.
How the test is scored
You begin the test with a perfect score and points are deducted along the way if the examiner notices any issues with your driving. You are allowed up to 15 minor infractions/points off and still pass, but 16 or more will result in a failing grade. These are counted each time you go 3 MPH or more over the speed limit, don’t come to a full and complete stop and wait at least a second or two at stop signs, don’t take a turn so good, don’t show great lane control, etc.
While some people do fail the DMV test for getting 16 or more points deducted, it is far more common to fail the test by doing what they categorize as a Critical Driving Error. These are actions that if you do them once will result in an automatic fail on the test. They are listed below.
CA DMV CRITICAL DRIVING ERRORS
- Examiner Intervention (This is either the examiner having to take control of the car by grabbing the steering wheel, or having to instruct you how to navigate a situation on the road beyond just telling you when to make a turn or make a lane change. If they have to tell you to slow down, when to stop, or when to go, etc., that is an intervention.)
- Strike Object or Curb (If you strike any object with any part of the car or even graze the curb with your tires during your curb park or a right turn it will result in an automatic fail. This is why you’ll want to park at least 8-10 inches from the curb for your curb park and reverse. Also be careful not to hit the curb when pulling back into the DMV parking lot.)
- Disobey Traffic Sign or Signal (Pretty self-explanatory. Remember that special speed limit zones for schools are normally only applicable when there are children present on the sidewalks or when flashing. Stopping unnecessarily at a green light or not taking your place in the right-of-way queue at an all way stop also often count.)
- Disobey Safety Personnel or Safety Vehicles (This includes construction flaggers, crossing guards, anyone directing traffic in an official capacity, yielding to emergency vehicles responding to a call, not obeying stop signs on a school bus, etc.)
- Dangerous Maneuver (Any situation that creates an unsafe situation on the road. For example not S.M.O.G.ing when you need to, blocking an intersection, making a lane change in an intersection, significantly disrupting the flow of traffic, not giving a cyclist enough passing space or a pedestrian the right of way, suddenly braking for no reason, etc.)
- Speed (They are not looking for perfection, but awareness and conscientiousness. The goal is to be about +/- 2 MPH of the speed limit, and slower if the traffic or conditions call for it. If you speed by more than 3-4 MPH you start getting points deducted from your score each time. Normally speeding by 8-10 MPH or more at any point will result in an automatic fail. Also, going 8-10 MPH too slow on major commercial streets can also cause a safety hazard and can also result in an automatic fail.)
- Auxiliary Equipment Use (This is normally for not using controls like the turn signals, headlights, windshield wiper, defroster, hazard lights, or horn when necessary. Remember that any time you have your windshield wipers on because of weather conditions or go through a tunnel you are also required to have your headlights on as well. Make sure your seat and mirror are all adjusted correctly before you start your test as you can’t really do this once the test has started.)
- Lane Violation (The primary lane violation is simply not staying in your lane and drifting into lanes to your side. Can also include making a lane change over a solid line, making a lane change in an intersection, driving in a wrong lane (a bus-only lane, for example), making a turn from a straight-only lane or going straight from a turn only lane, etc.)
Final tips for test day
Also, it’s OK to take one hand off the steering wheel during hand over hand steering, and also occasionally in order to use a control on the dash (if needed), adjust your glasses, brush the hair out of your face, etc., but the examiner is really looking for you to have both hands on the steering wheel at all times for the most part in order to maintain control of the car, even when stopped at traffic signals.
Remember that if you have an unprotected left turn (no turn arrow) at a traffic signal and are waiting for a gap in oncoming traffic before making your turn, to keep your wheels straight and not to turn them until you begin to make forward movement on your turn.
The DMV is also very particular about not wearing slides, flip-flops, high heels, or any other type of shoe that could easily slide off or be awkward to drive in for the behind-the-wheel test. Just make sure your shoe has some kind of back to keep them from sliding off your foot and that they aren’t 4-inch heels or something.
Keep it calm and predictable
This seems like a lot, and it is, but hopefully these are the same skills you’ve been working on for months and for dozens of hours of driving practice. The test is really just 10-15 minutes of driving around, making turns, a couple of lane changes, and that curb park and reverse maneuver. The examiner wants to see in that short snapshot of time they have riding with you that you are competent and able to drive on your own unsupervised. Make them feel comfortable and safe as a passenger.
You will be a bit nervous on test day. That’s only normal. Remember not to let your nerves make you drive any differently than you normally do, and when driving to be in the moment as much as you can. Just show up calm and confident on test day and show the examiner what a boring, responsible, and predictable driver you can be!
About the author

Written by Instructor Josh Daniels of Bay Cities Driving School. Read Josh's bio.